Hi crafty friends! Today I am have a tutorial sharing a fun way to dress up your die cuts and give them a huge wow factor! Products and supplies used are listed and linked below.

Here is a tutorial of how I created my cards:

Apply your choice of alcohol inks onto Yupo paper. I added the inks in drops and mixed with alcohol ink blender solution and used a blowing tool to help it spread.
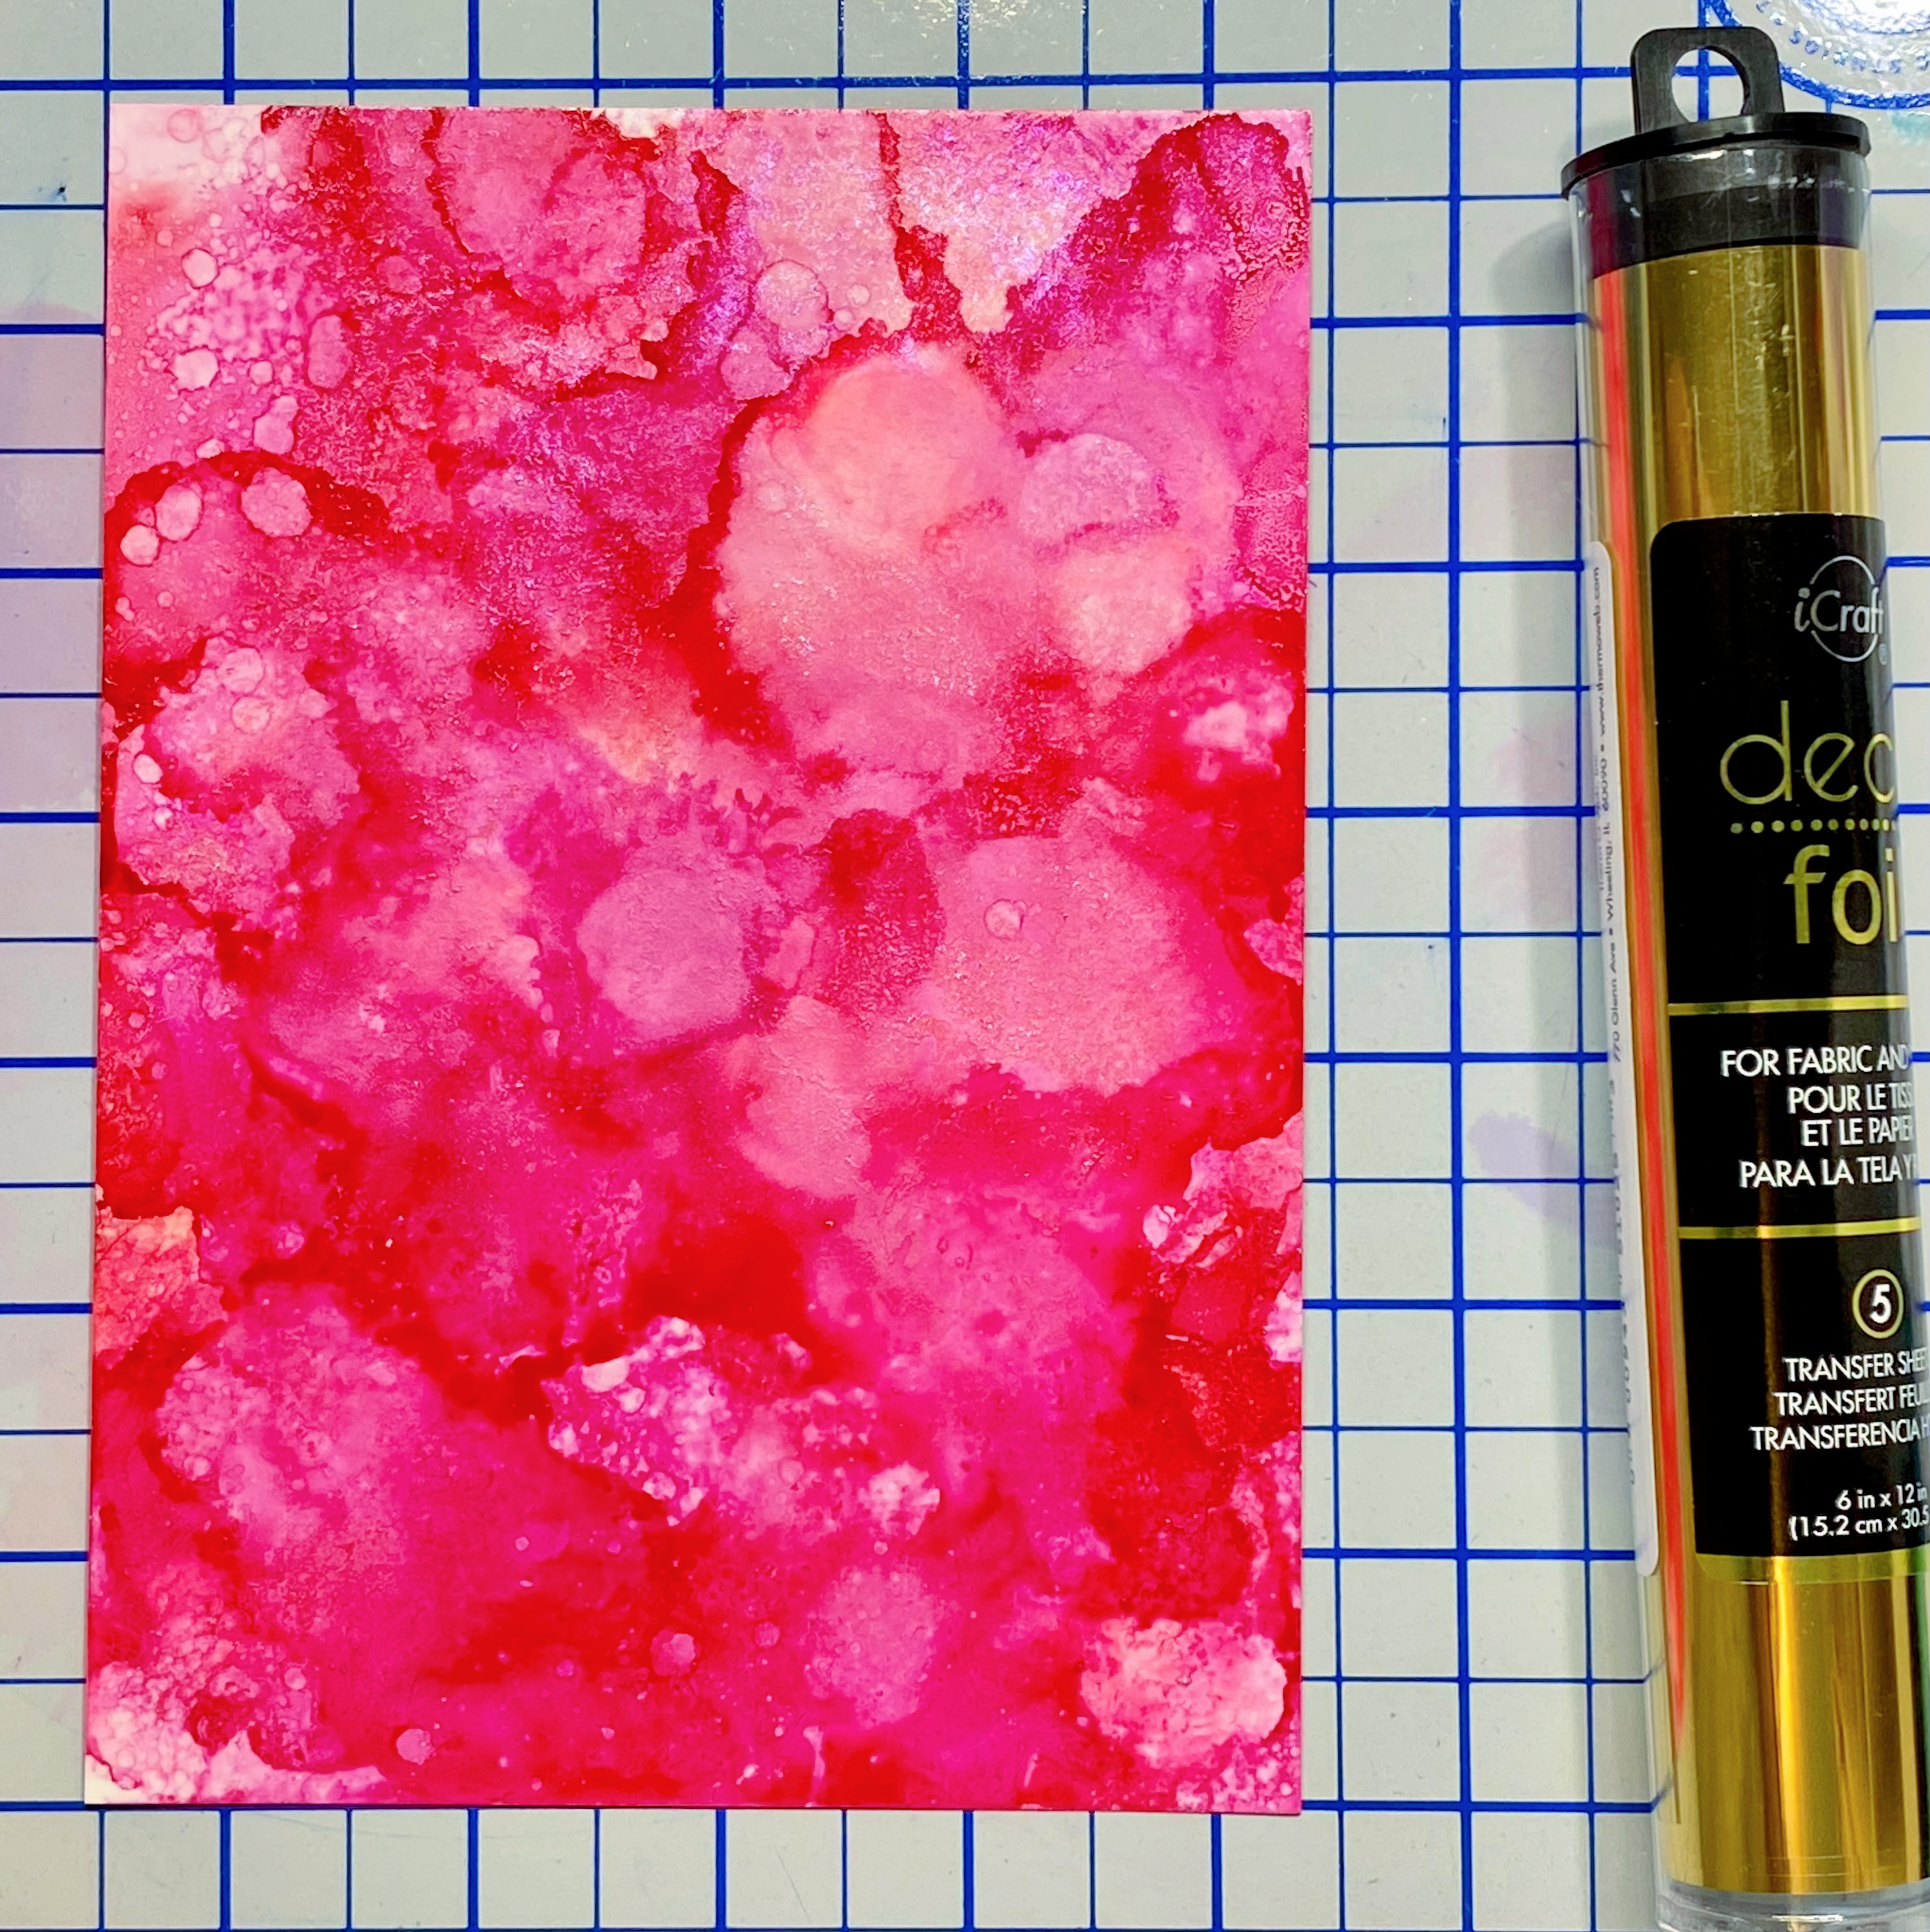
I let the ink dry until it was tacky (about 3-4 minutes) and applied the foil by rubbing it over and carefully pulling back. The foil will stick wherever the alcohol ink is still tacky.

I used gold foil for the pink background and silver for the blue/purple.

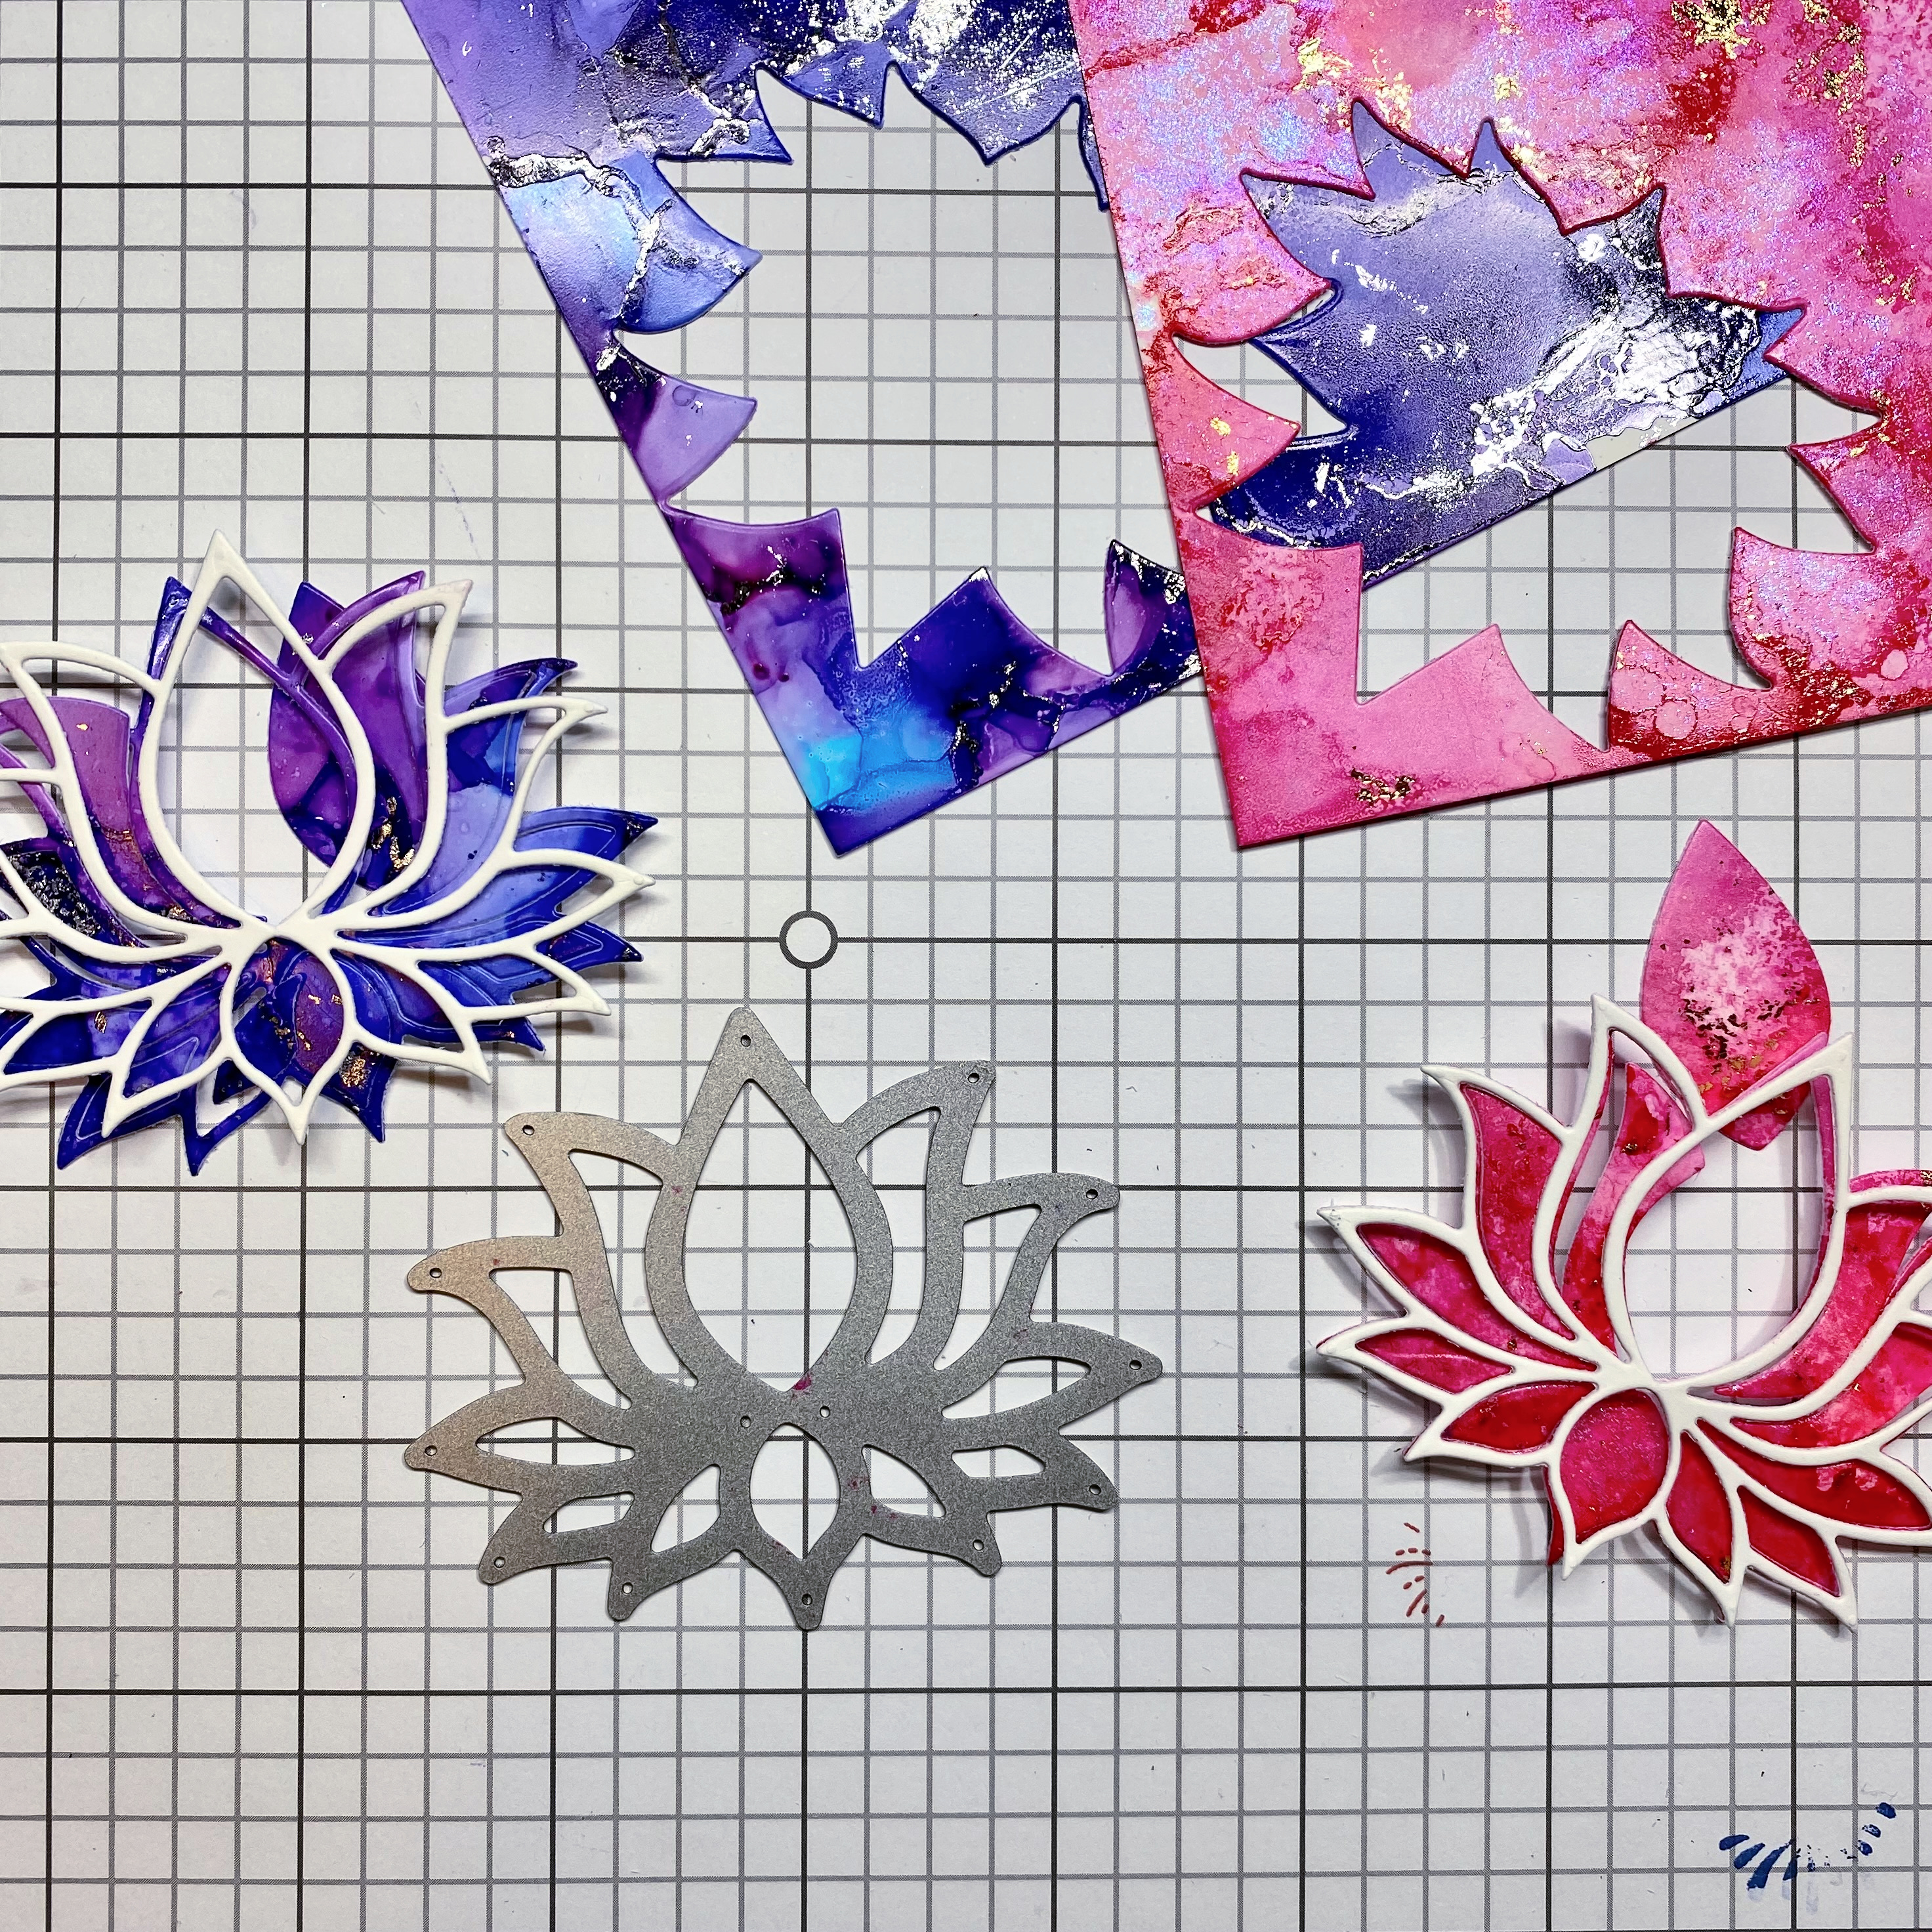
Next die cut out the Lotus die in both white card stock and the alcohol ink panels. Glue the white frame over the alcohol inked die cut. To help keep the layers inside the petals, add some tape to the back of the die cut.
To create the background layer, use coordinating inks and the "smoosh" technique. First die cut the largest rectangle using a water friendly paper. Add the inks by smooshing small amounts to your craft mat. Next spray the inks with water and smoosh the white card stock over the watered down inks to create a nice water colored background. Allow the panels to dry and then stamp and heat emboss the sentiment towards the top.
.jpg)
Glue the stitched rectangle over the scalloped rectangle and then glue to the layer to the card base. Pop up the Lotus die using double sided adhesive foam and center it onto the panel.

For a finishing touch add some bling or pearls. Which do you like better? The blue/purples or the pinks??


Thanks so much for stopping by! I hope you check out the La-La Land Crafts shop for the cutest dies and stamps! Have a great day :)
PRODUCTS USED
SUPPLIES & PAPER CUTS
Yupo Paper for alcohol inks
Assorted Alcohol Inks
Assorted Distress Inks
Craft transfer foil
White card base: 4 inches x 5.25 inches
White card stock: Cut largest scalloped rectangle
Water color or Bristol smooth card stock: Cut the largest stitched rectangle
No comments:
Post a Comment
Thank you so much for your comments! I really do appreciate all the kind words! Have a lovely day :)