Tuesday, June 14, 2022

Spellbinders Birthday Celebrations June 2022

Hi crafty friends! Today I have a couple cards to share for the Spellbinders 20th Anniversary and Birthday Celebration event! I listed all the supplies I used below. Here is what I created!


For my first project I created a slimline card featuring the fun new Topsy Turvy Cake Etched Die. It's hard to see in the pic but I embossed the white panel using the Big Dot Slimline Embossing Folder. I cut out the layers in different shades of pink card stock for an ombre effect. For the dripping frosting I used white glittered cardstock. The flowers were cut from the Wreath Builder Etched Dies. The cut out the gold accents using the Mirror Gold Cardstock. I added a foiled sentiment from the Everyday Sentiments II Glimmer and for a finishing touch I added some crystal gems.


For my second card I hot foiled the new Hand Drawn Loops Glimmer Hot Foil Plates with gold foil onto an ombre of teal cardstock and trimmed it down into panels to go across my A2 sized card. I cut out the cake using some light blue cardstock and cut out the frosting with light teal cardstock. 

Monday, June 13, 2022

Newton's Nook Designs June Release 2022 Day 1

Hi crafty friends! It's time for another fabulous release at Newton's Nook Designs and today we are sharing a fun new paper pad, stamps set and stencil! Here is what I created:

First I stamped the adorable VW bug image and colored it using Copic markers and cut it out with the coordinating dies. To create the background I lightly inked the sky using Distress Oxide Inks and the Clouds Stencil. I then used the new Palm Tree Line Stencil and Distress Inks Oxide inks to layer the trees and diecut the panel using the Frameworks Die.


I added a layer of sand using the Land Borders Die and another layer for the road. I stamped and embossed the sentiment and adhered to an A2 sized card base. For a finishing touch I added some gold gems to the trees for coconuts!!


Would you like to win the “Beach Bound” Stamp Set? This stamp set will be given away to ONE lucky winner!

Here's how to win: Comment on the NND blog and Design Team blogs (see list below)! The winner will be chosen at random from the collective reveal posts. Make sure to check out each of their blogs and comment for your chance to win. You will not know which blog has been chosen so the more you comment on the better your chances are of winning! You have until Thursday June 16th at 9pm ET to comment  -- winners will be announced on the blog post on Friday June 17th. 

Check out all the awesome Design Team Blogs below to enter:

Newton's Nook Designs

Donna Idlet

Ellen Haxelmans

Tina Herbeck

Larissa Heskett

Samantha Mann

Zsofia Molnar

Maria Russell

Farhana Sarker

Tatiana Trafimovich

Amanda Wilcox


Thanks for stopping by!! Have a great day :)

Thursday, June 9, 2022

Alcohol Inks and La-La Land Crafts Lotus Die Cards


Hi crafty friends! Today I am have a tutorial sharing a fun way to dress up your die cuts and give them a huge wow factor! Products and supplies used are listed and linked below.


Here is a tutorial of how I created my cards:


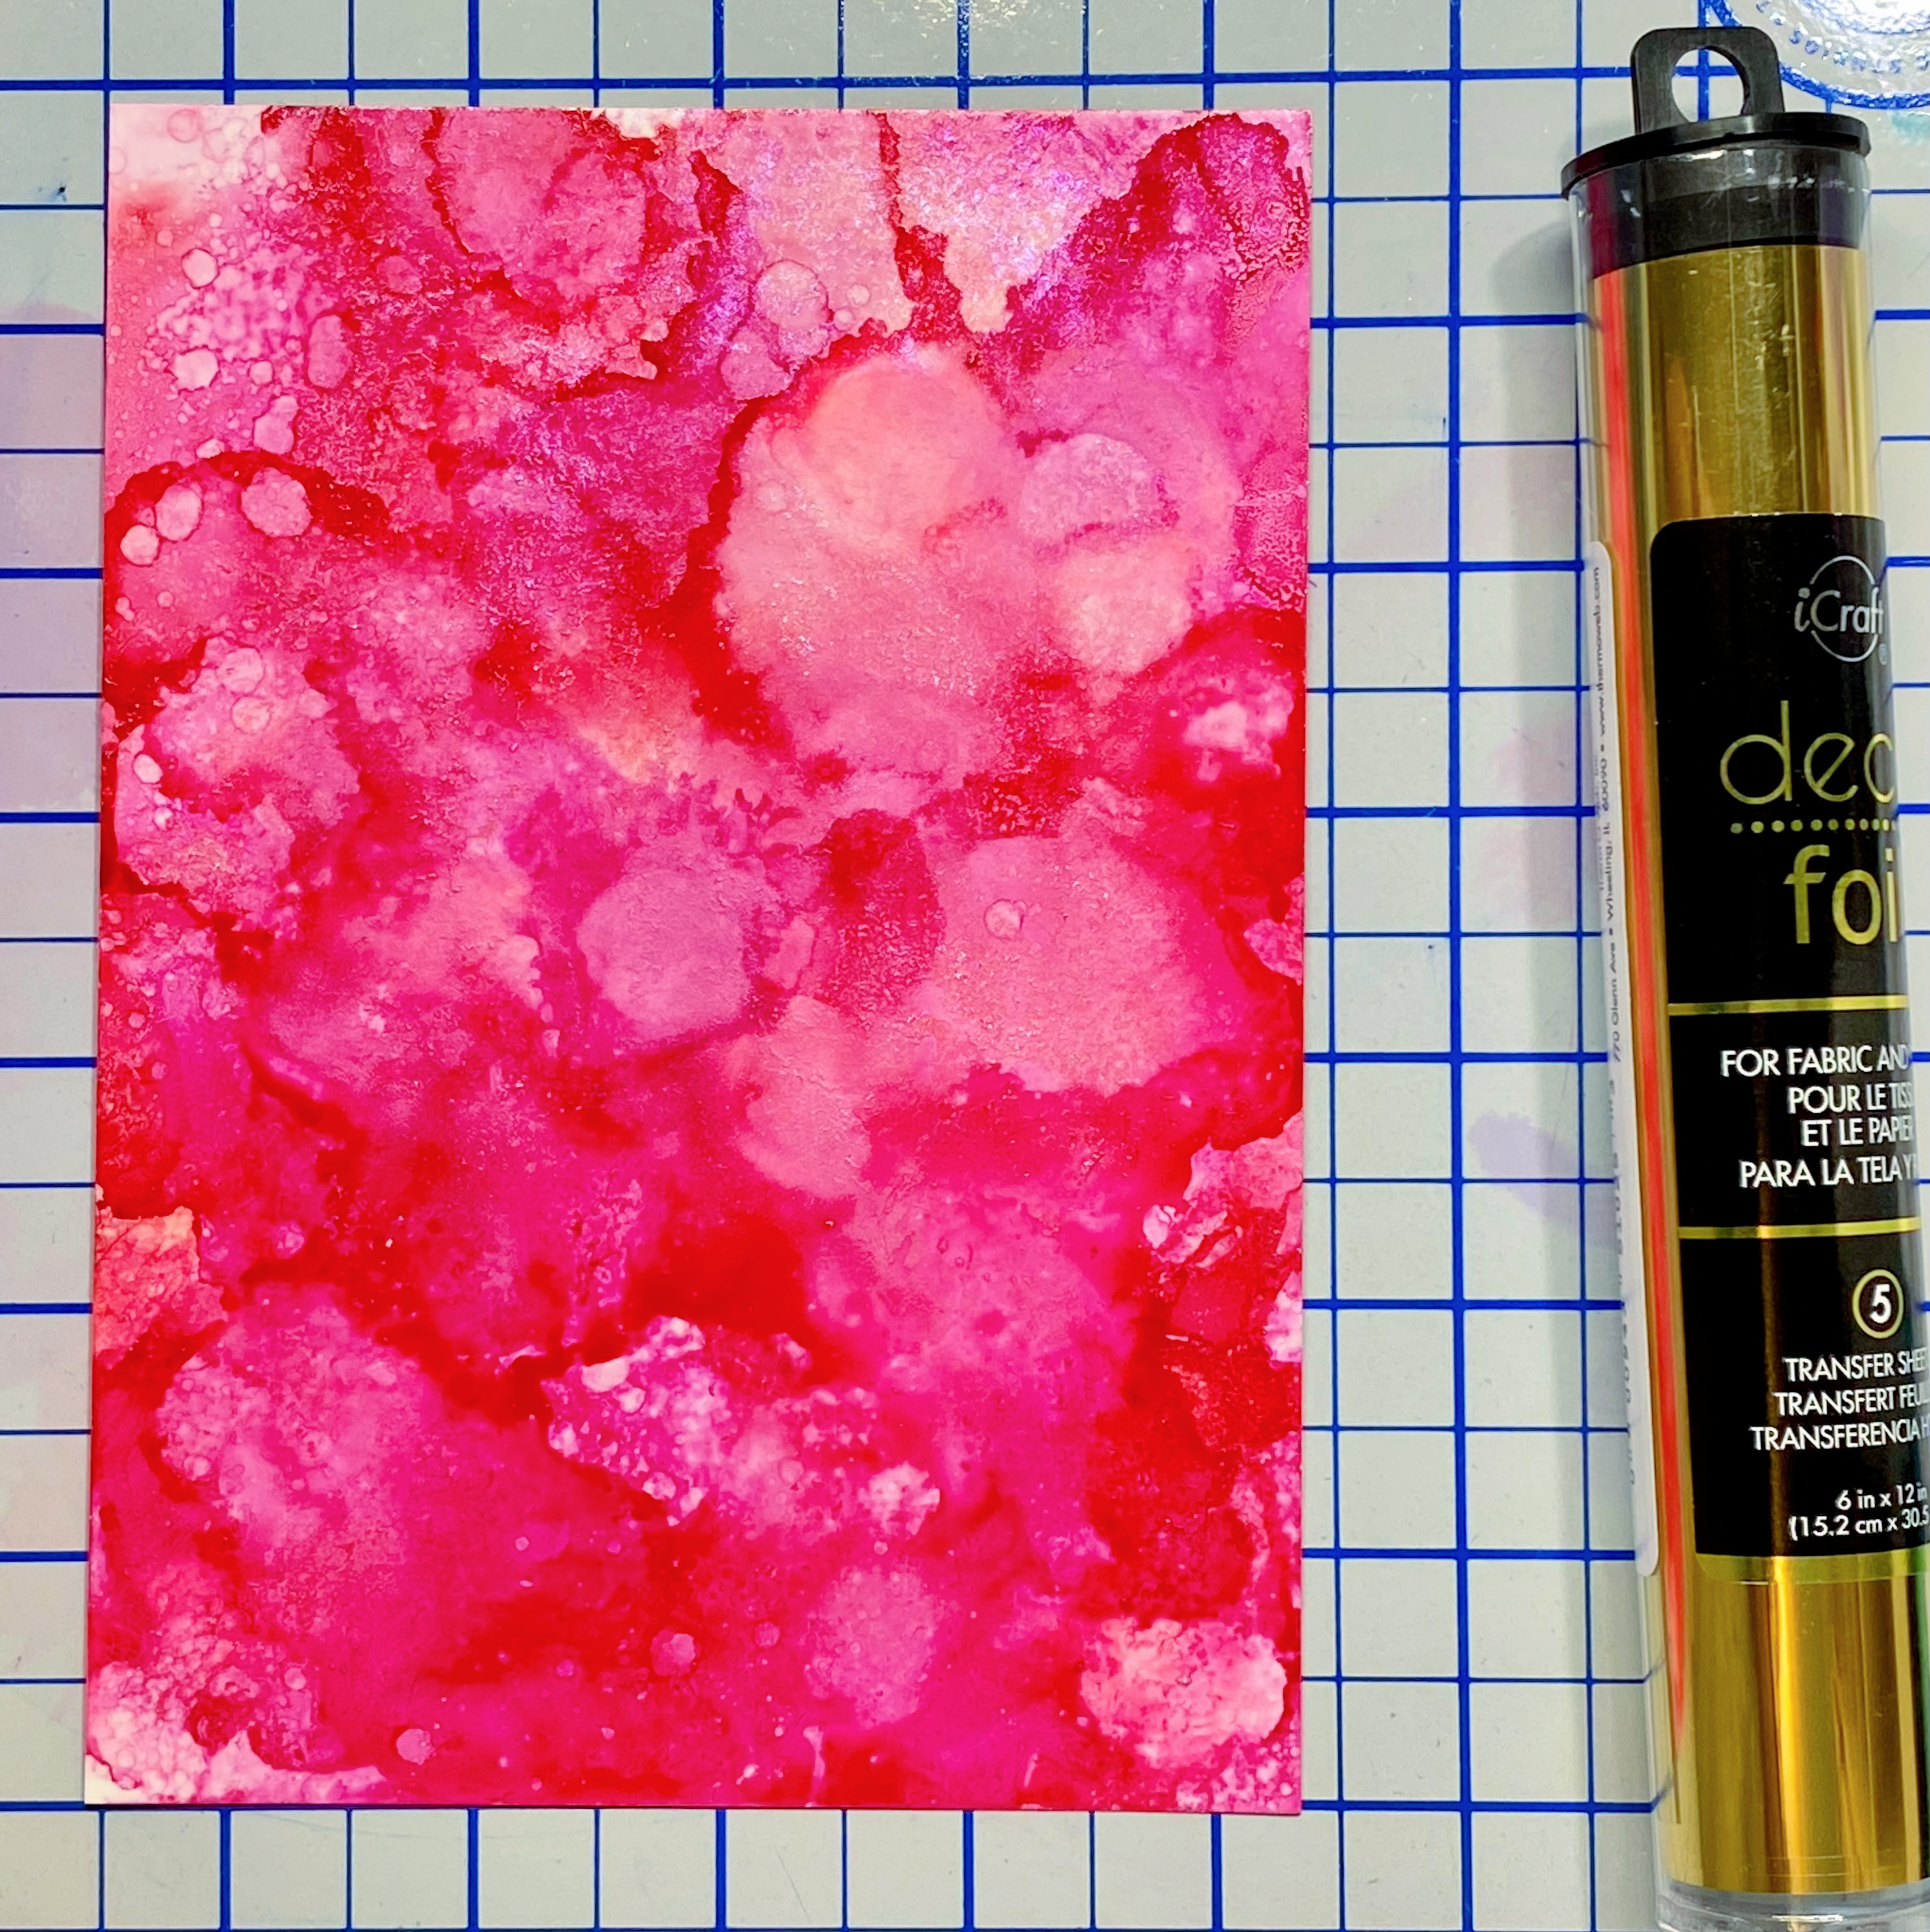
Apply your choice of alcohol inks onto Yupo paper. I added the inks in drops and mixed with alcohol ink blender solution and used a blowing tool to help it spread.


I let the ink dry until it was tacky (about 3-4 minutes) and applied the foil by rubbing it over and carefully pulling back. The foil will stick wherever the alcohol ink is still tacky.


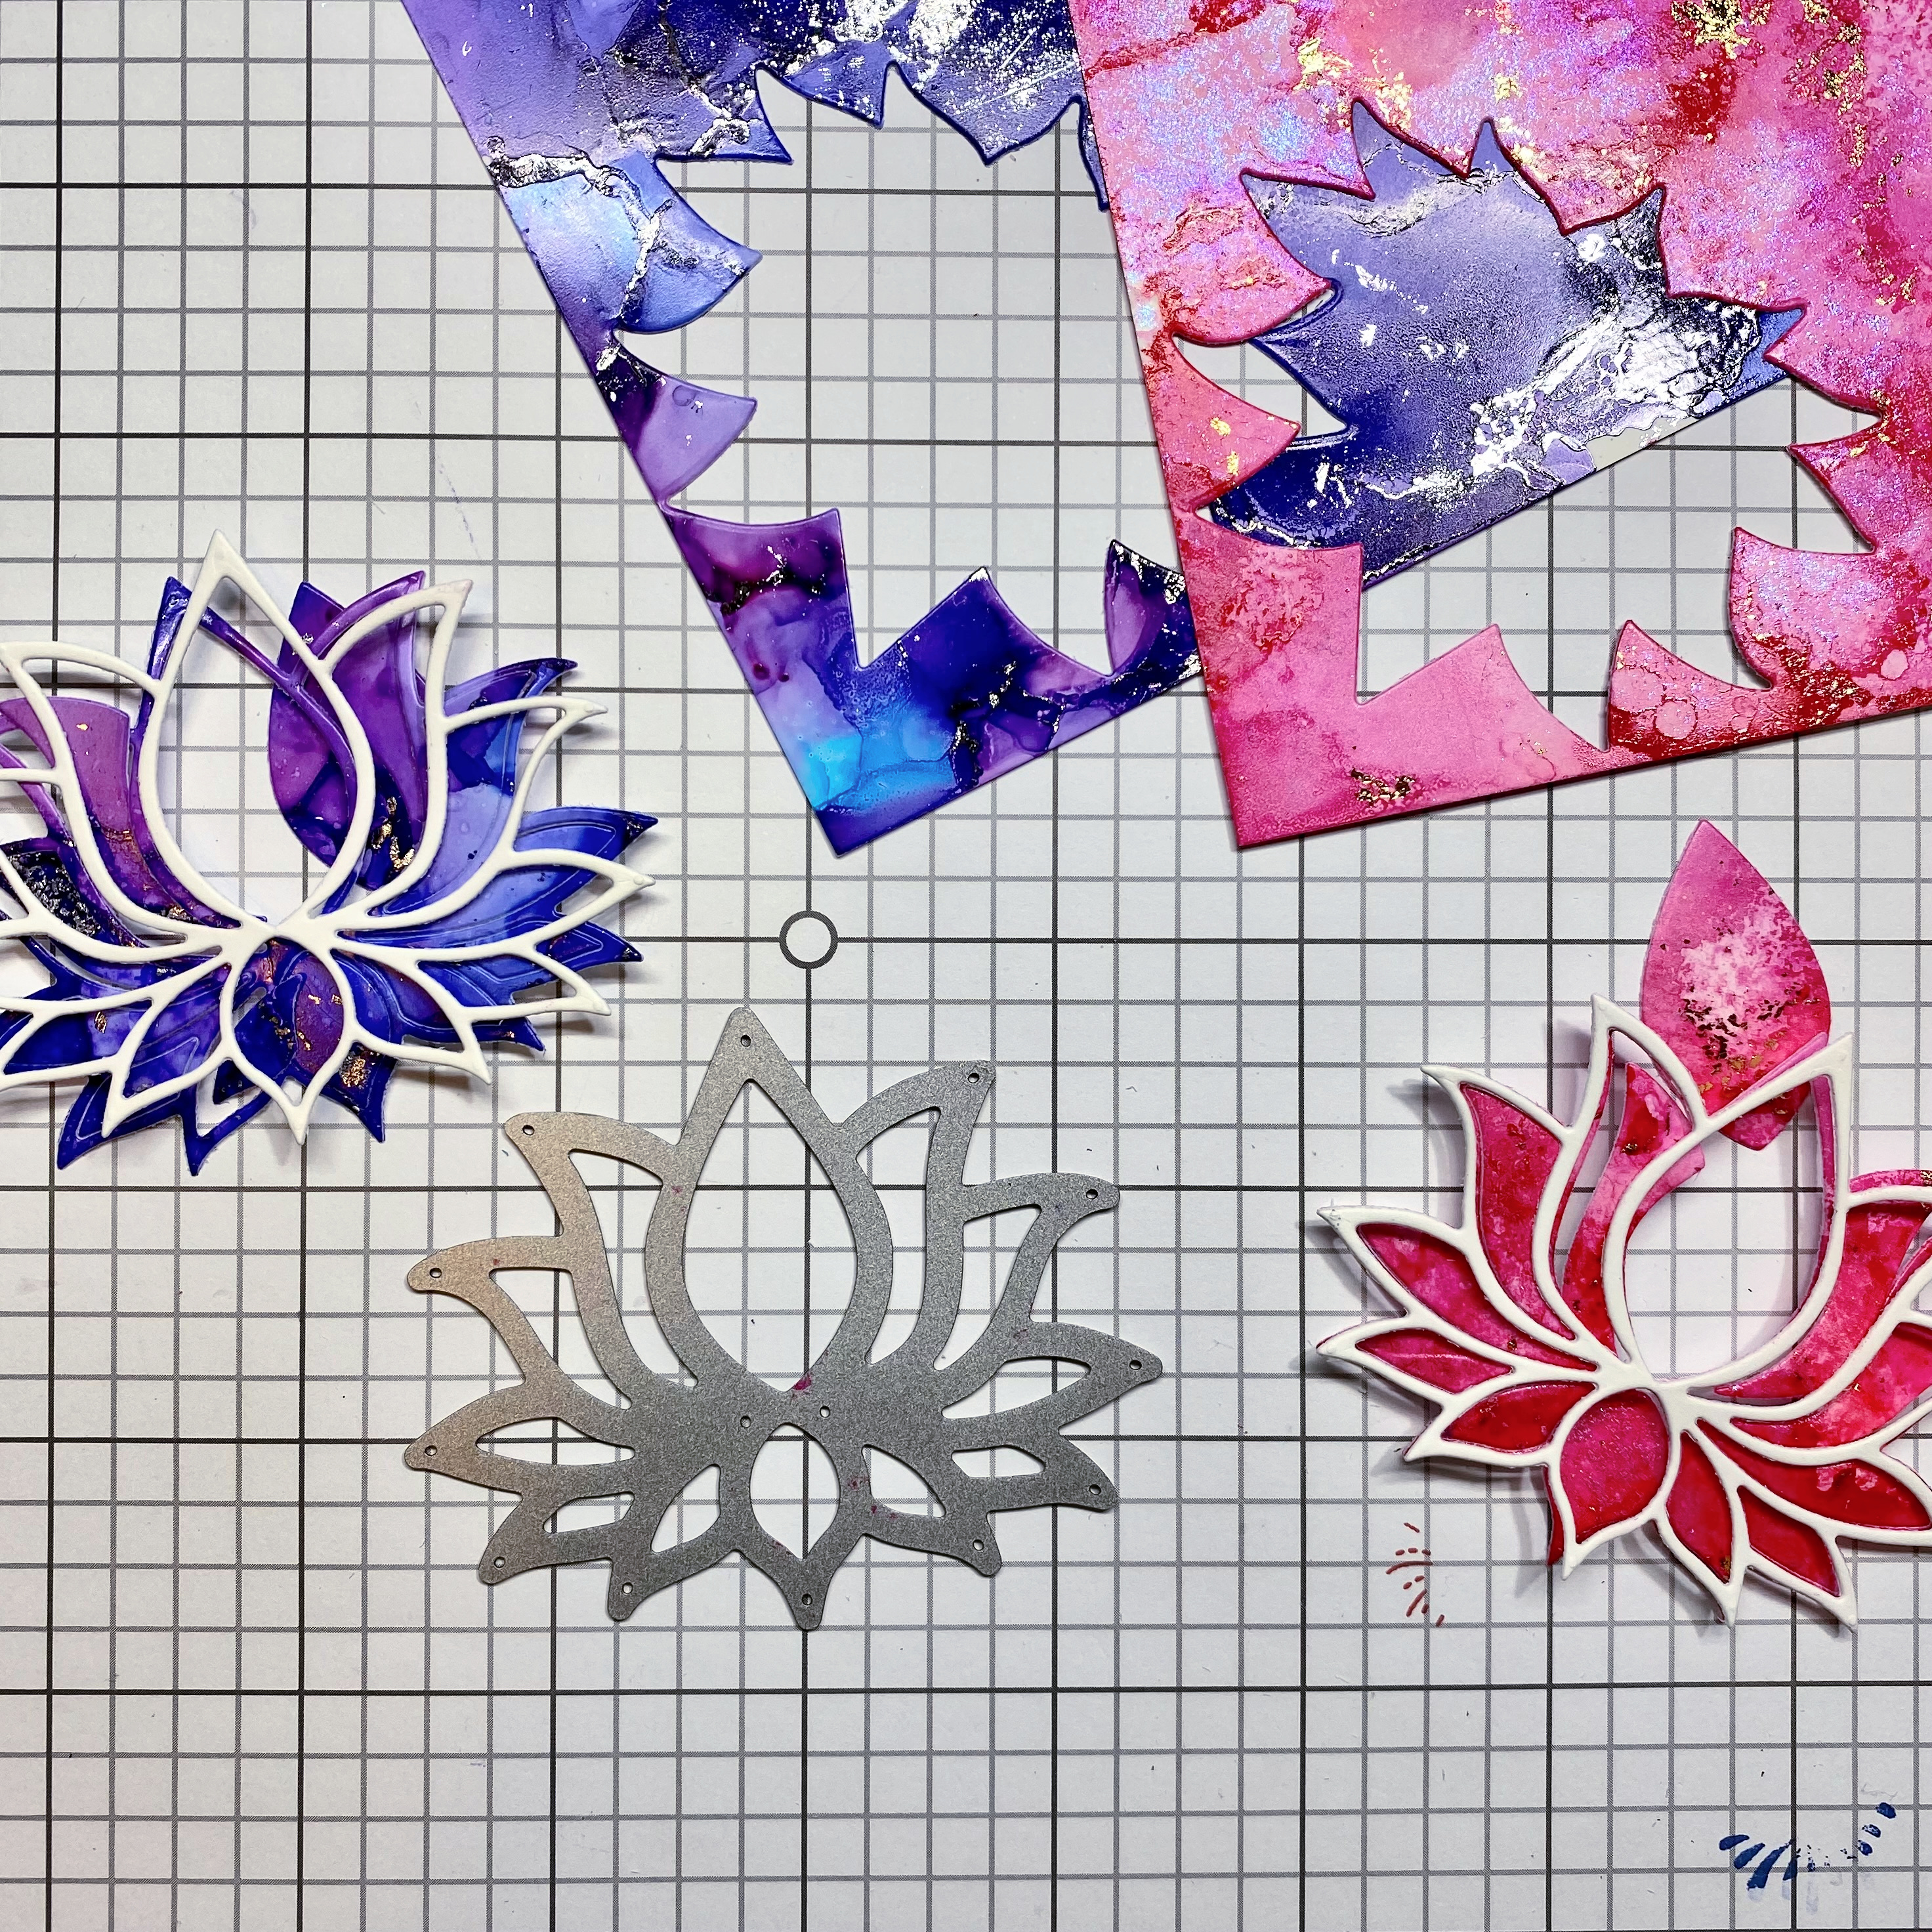
I used gold foil for the pink background and silver for the blue/purple.


Next die cut out the Lotus die in both white card stock and the alcohol ink panels. Glue the white frame over the alcohol inked die cut. To help keep the layers inside the petals, add some tape to the back of the die cut.


To create the background layer, use coordinating inks and the "smoosh" technique. First die cut the largest rectangle using a water friendly paper. Add the inks by smooshing small amounts to your craft mat. Next spray the inks with water and smoosh the white card stock over the watered down inks to create a nice water colored background. Allow the panels to dry and then stamp and heat emboss the sentiment towards the top. 


Glue the stitched rectangle over the scalloped rectangle and then glue to the layer to the card base. Pop up the Lotus die using double sided adhesive foam and center it onto the panel.


For a finishing touch add some bling or pearls. Which do you like better? The blue/purples or the pinks??


Thanks so much for stopping by! I hope you check out the La-La Land Crafts shop for the cutest dies and stamps! Have a great day :)

PRODUCTS USED

SUPPLIES & PAPER CUTS 

Yupo Paper for alcohol inks
Assorted Alcohol Inks
Assorted Distress Inks
Craft transfer foil
White card base: 4 inches x 5.25 inches
White card stock: Cut largest scalloped rectangle
Water color or Bristol smooth card stock: Cut the largest stitched rectangle

Monday, June 6, 2022

Celebrate 4th of July Fireworks Card

Hi crafty friends!! Today I have a card to share that I created for the Newton's Nook blog. It is 4th of July themed and full of red, white & blue!! The supplies I used are listed and linked below :)

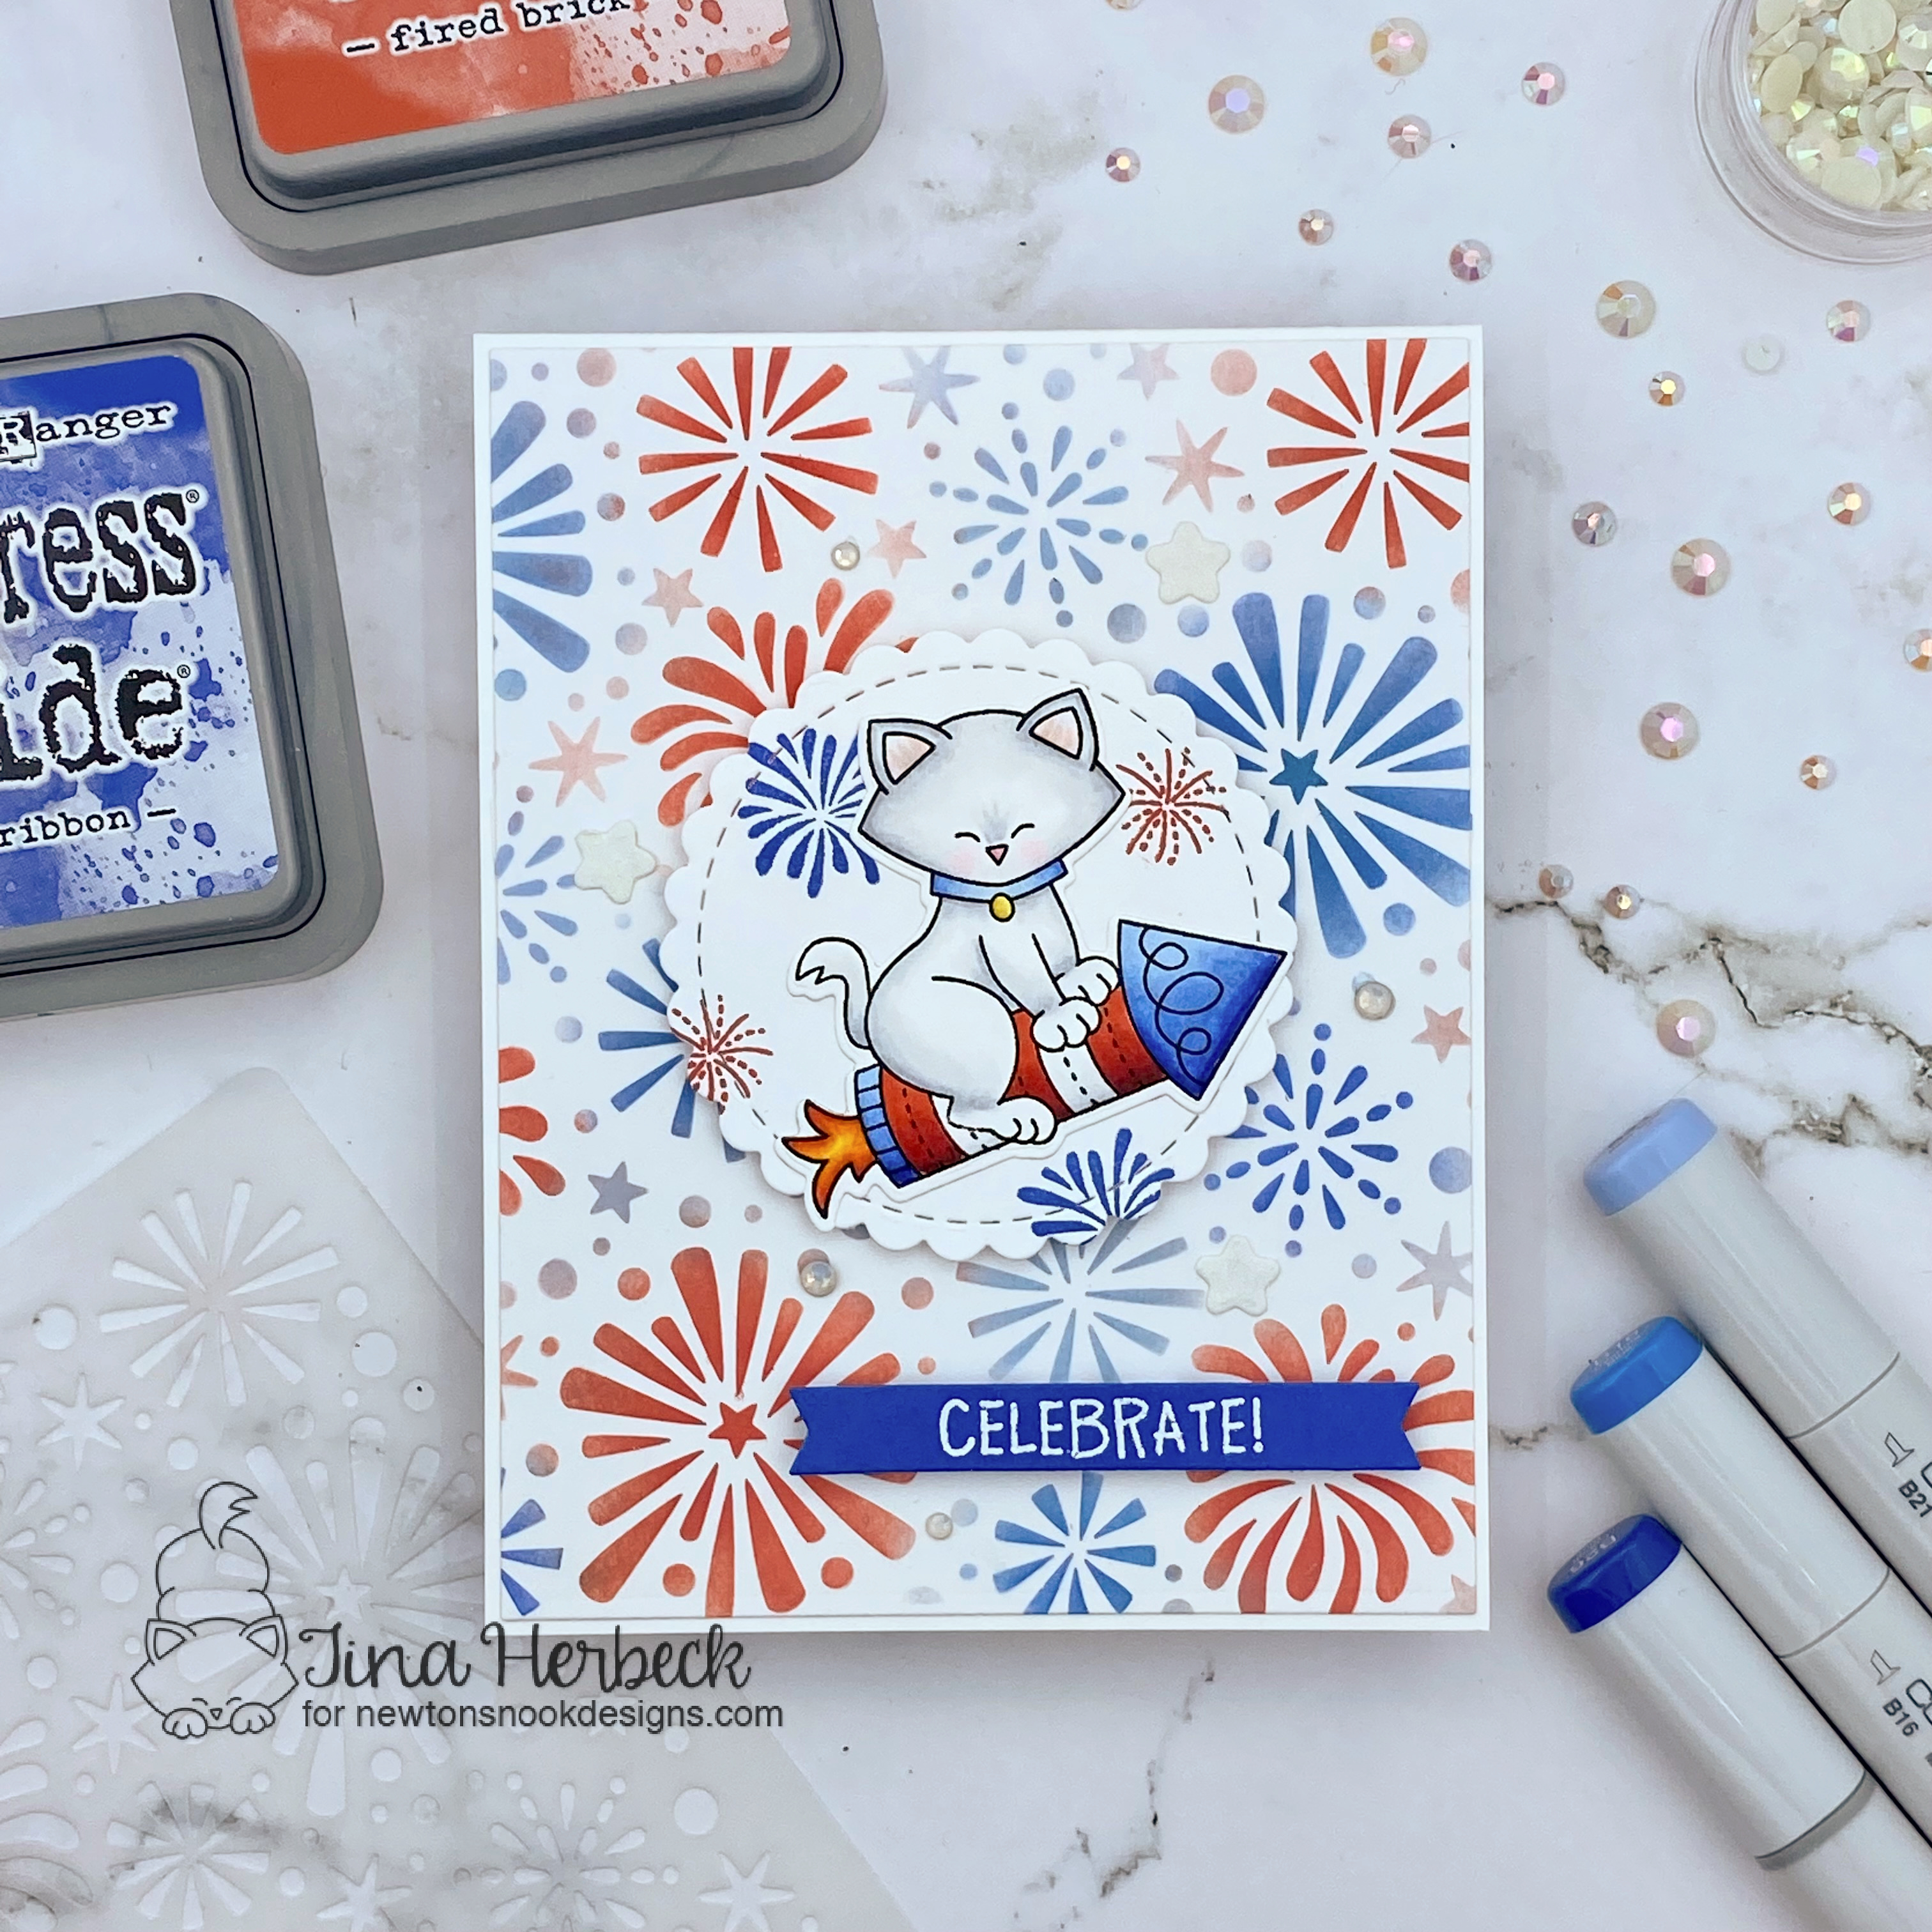
I stamped and colored the adorable image from the Newton's 4th of July stamps and cut it out using the coordinating die. To create the background I used the Fireworks Stencil and Distress Oxide Inks. To help Newton stand out a bit I cut out the scalloped circle and stamped a few fireworks using the same inks. I glued Newton to the center and popped the circle up using foam tape. 


 I stamped and embossed the sentiment onto the little banner and popped it up as well. For a finishing touch I cut out a few white glittered card stock stars using the coordinating dies and added some bling.

I hope you like my project today! Thanks so much for stopping by!! Have a great day :)

Supplies Used:

Wednesday, June 1, 2022

Wishing You Oceans of Happiness

Hi crafty friends! Today I am sharing this card over on the Newton's Nook blog featuring the Summer Moments stamp set. The supplies I used are listed below. 

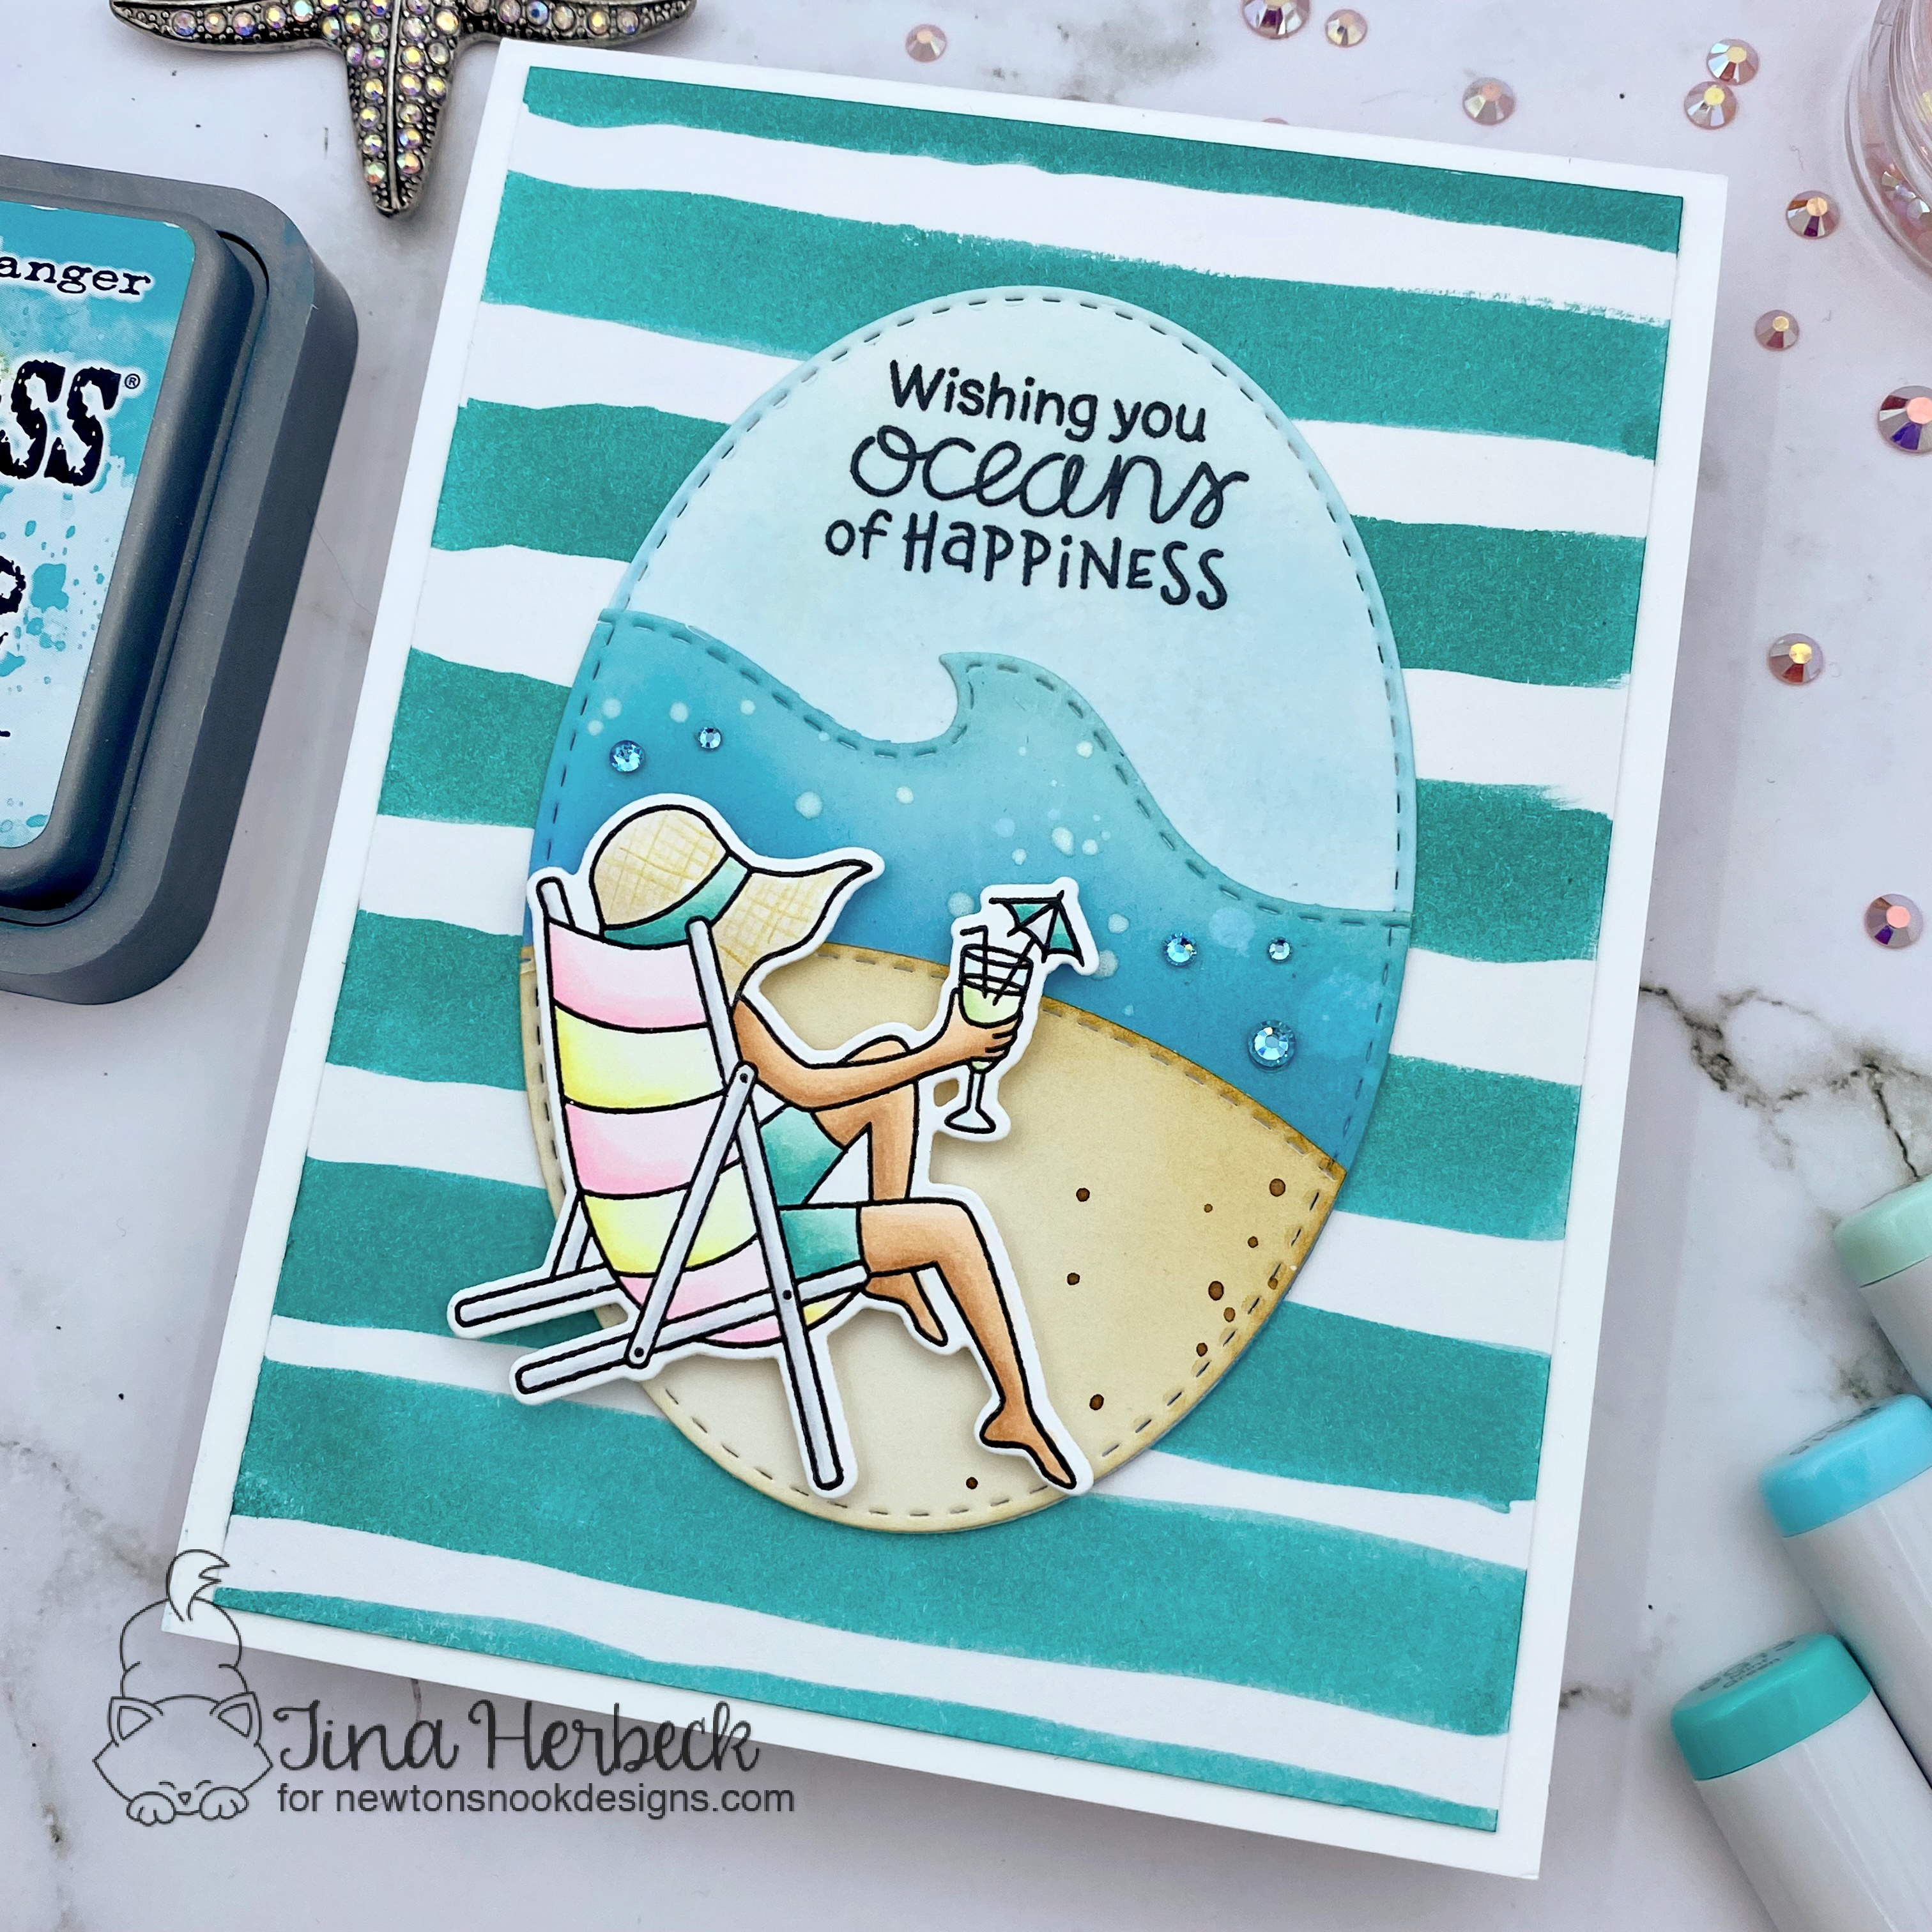
I stamped and colored the image using Copic markers and cut it out using the coordinating die. To create the main background panel, I painted the teal stripes using the Peacock Feathers Distress re-inker. I thought it made the perfect seaside background! Next I cut out the oval three times and trimmed two using the Newton's Nook Designs border dies. I inked them using Distress inks and stamped and embossed the sentiment. 

For a finishing touch I added some teal bling on the ocean waves. This card came together pretty easy. I hope you like it! Thanks so much for stopping by! Have a great day :)

Supplies Used:


Labels

Birthday (5) Birthday Projects (18) Card In A Box (11) Christmas (3) Christmas Projects (57) Coffee theme (2) Craftin Desert Diva's Stamps (157) Easel Card (3) Easter Projects (24) Fall Projects (17) Flip Book (4) Gerda Steiner Designs (2) Get Well Projects (1) Gina Marie Designs (14) Goody Bags (1) Graduation (4) Halloween (2) Halloween projects (30) Happy New Year (1) Harry Potter (4) Hello Bluebird Stamps (1) Hello Kitty (2) Hero Arts (2) Honey Bee Stamps (1) Jaded Blossom (429) Jessica Lynn Original (2) KaDoodle Bug Designs (2) Lawn Fawn (10) Loaded Envelope (1) Lori Whitlock (7) Love Cynthia Stamps (1) Mama Elephant Stamps (5) Masculine Projects (2) Memorydex - Rolodex (2) Mermaids (2) Mini Albums (1) Miss Kate Cuttables (1) Mother's Day (3) My Creative Time Stamps (24) My Favorite Things Stamps (1) My SVG's (5) My Scrap Chick (7) Newtons Nook (101) Planner (14) Pocket Letter (8) Pooh and Friends (5) Pretty Paper Pretty Ribbons (2) Pretty Pink Posh (3) Rilakkuma (1) SVG Cut Club (39) SVG Cuts (2) SVG Cutting Files (85) SVG Made By Me (2) Shaker Cards (28) Shaped Card (1) Sister Stamps (1) Slimline Cards (11) Spellbinders (20) St.Patrick's Day (4) Stamp Anniething (156) Stampendous (1) Star Wars (2) Swap (1) Thank You (1) The Dreaming Tree (1) The Rabbit Hole Designs (4) Tim Holtz (1) Tina's Cute Critter Challenge (2) Valentine's Day Projects (35) Waffle Flower (1) We R Memory Keepers (1) Wedding Projects (2) Winter Projects (4) You Tube Video Tutorial (227) Your Next Stamp (2)